
Recipe: Cadbury Creme Eggs “Brookies”
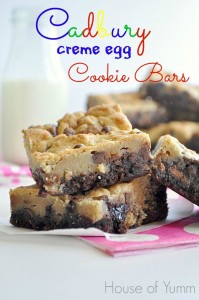
I love Easter candy. I love it more than any other “holiday”-themed candy. I believe it’s because of Cadbury Creme Eggs. I saw this beautiful recipe with the words CADBURY CREME EGGS floating through my Pinterest page, and I knew I had to share it. I know there are others like me out there with a deep love for these creme-filled wonders. HUGE THANK YOU to House of Yumm for this recipe. She has tons more recipes, so go check them out!!!!
Ingredients:
- 1 1/4 cups all purpose flour
- 1/2 teaspoon baking soda
- 1/2 teaspoon salt
- 1/2 cup softened butter
- 1/2 cup sugar
- 1/2 cup brown sugar
- 1 teaspoon vanilla extract
- 1 egg
- 1 cup mini chocolate chips
- 1 brownie mix-ingredients needed per brownie mix
- 1 package of miniature Cadbury Creme Eggs foil wrapped eggs with the creme inside (NOT the bag of mini chocolate eggs!)
Directions:
- Preheat oven to 375 degrees.
- Prepare brownie mix according to the directions on the package and pour into greased 9″ square baking pan.
- Chop up Cadbury eggs into random sizes and shapes then set them aside.
- Combine the flour, salt, baking soda in a separate small bowl.
- In a large bowl, beat softened butter and sugars until creamy. Add in the egg to the mixture and beat until it is mixed in fully.
- Slowly add in flour mixture from the small bowl and stir until combined. Add in the mini chocolate chips and chopped up Cadbury eggs then stir together evenly.
- Add the newly combined cookie dough as evenly as you can into the baking dish on top of the brownies. BE CAREFUL! You won’t be able to really spread it to even it out since the dough is thicker than the brownie mix.
- Bake for 20 minutes. Allow to cool, cut, and enjoy!
Kool-Eggs: Using Kool-Aid to Dye Easter Eggs
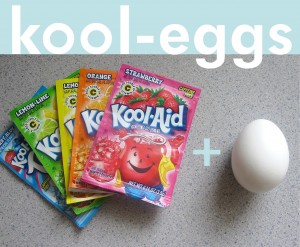
Skip the expensive and hard to use egg dying kits this year. The dye kits usually use vinegar or tablets and you have to wait to dissolve. Use just plain ol’ Kool-Aid! You can usually find Kool-Aid packets on a sale for 5 for $1 (usually less!), they smell sweet instead of chemically. All you need are hard boiled eggs, a spoon, tongs, or another way to get the eggs out of the dye, lots of paper towels, and a cup or bowl for each color. To make the dye: 2/3 cup of water for each packet of Kool-Aid and mix together.
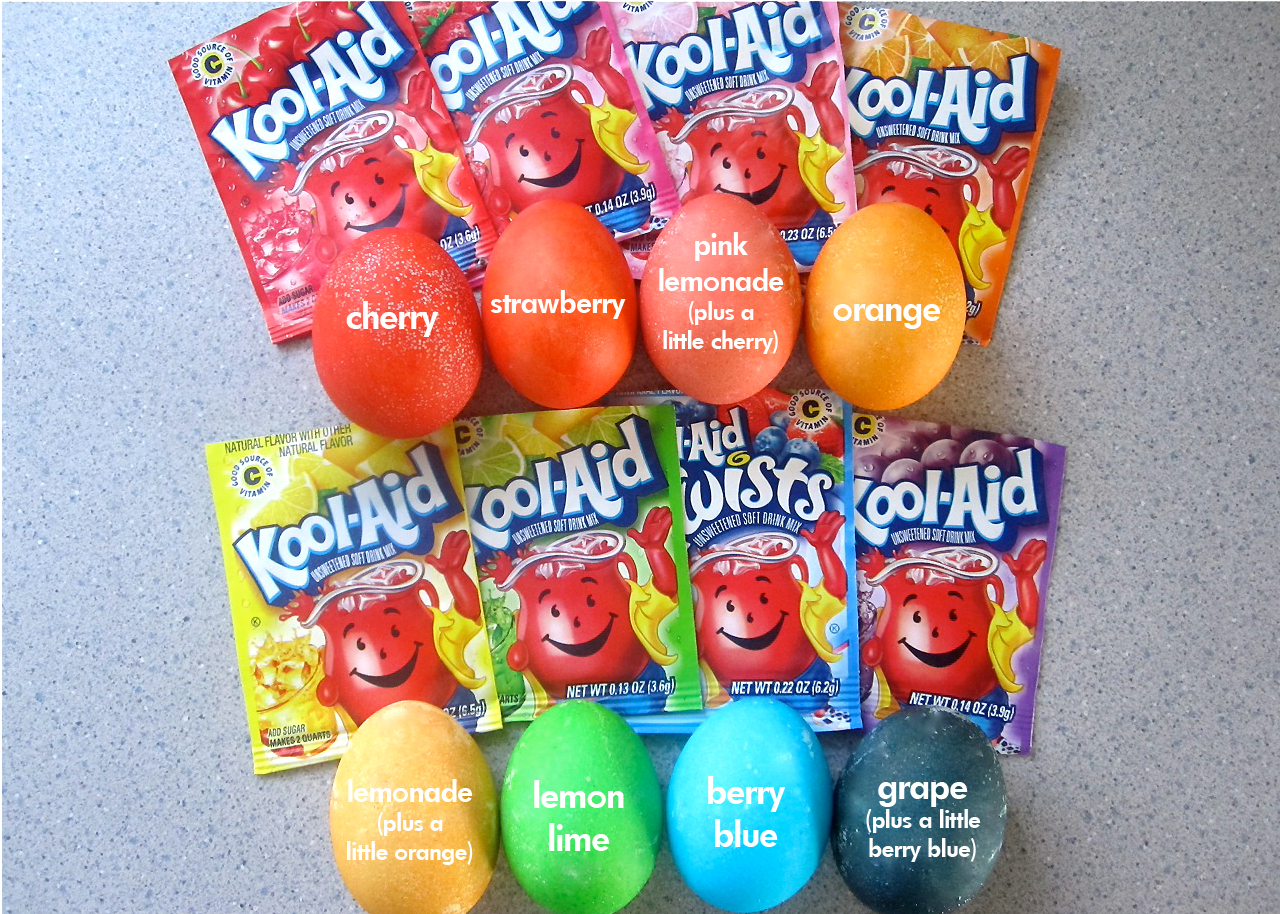
For some aid with colors, use the tutorial from Hey Jen Renee’s blog and her trial and error with the colors. Some will come out more colorful than others and some need to be mixed with other colors to get a color at all. See pic below and have fun!
Recipe: Pistachio Bread
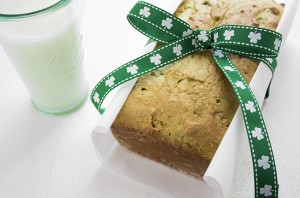
This recipe from Skinny Mom showed up in my email this morning and it made me want to make it right away, so I knew it’d be perfect to share today! It’s simple, sweet, and delicious.
Ingredients:
- 1 yellow cake mix (dry mix part only)
- 4 egg whites
- 3 oz package instant sugar-free, fat-free pistachio pudding mix
- ½ cup reduced-fat sour cream
- ¼ cup unsweetened applesauce
- ¼ cup water
- 1 tsp almond extract
- ¾ cup chopped pistachios
- 3 drops of green food coloring
Directions:
- Preheat oven to 350 degrees.
- Spray a 8.5 x 4 1/4 x 2 3/4 inch loaf pan with nonstick cooking spray.
- Mix all ingredients using a stand mixer or hand held mixer until well blended.
- Pour batter into prepared pan.
- Bake for 40-45 minutes.
- Allow bread to cool for 10 minute, then remove from pan, cut, and serve with topping of your choice.
Recipe: Fudge Mint Popcorn
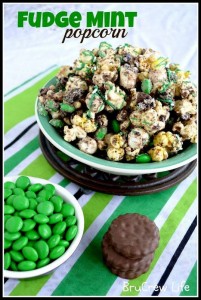
Make a delicious and fun snack to share with the family. Don’t pay $5 for one small tin! Make a large amount for so much cheaper.
Ingredients:
- 8 cups popped popcorn
- 1 cups miniature marshmallows
- 3/4 cup chocolate candies, divided
- 1 1/2 cups fudge mint cookies, chopped & divided
- 1 1/2 cups white chocolate chips
- 1 teaspoon shortening
- 1/4 cup green candy melts (Wilton)
- 3 Tablespoons sprinkles
- wax paper
- cookie tray
- 3 bowls
- baking spatula
- plastic sandwich bag
Directions:
- In a large bowl, combine popcorn, marshmallows, 1/2 cup chocolate candies, and 1 cup fudge mint cookies pieces. Crush the extra 1/2 cup cookies into crumbs, then set aside with the extra chocolate candies.
- In a microwave safe bowl, combine the white chips and shortening. Microwave, stirring every 30 seconds until melted. Pour over popcorn mixture and toss until everything is coated. Spread out on a wax paper lined cookie tray. Sprinkle with the crushed cookies and the extra 1/4 cup chocolate candies. Let set.
- In a microwave safe bowl, heat the green candy melts like the directions in #2. Spoon into a plastic bag and cut the tip off one corner. Drizzle over the cooling popcorn, then top with sprinkles. Allow to fully set before eating.
Thanks to Inside BruCrew Life for the recipe and picture!
DIY Four-Leaf Clover Door Hanging
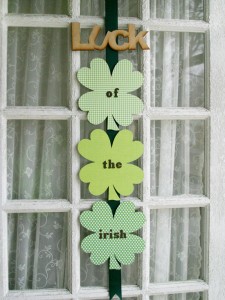
It doesn’t seem like it’s possible, but St. Patrick’s Day is only about a week away! Get your home a little bit more into the Irish spirit with this really cute and easy door (or wall if you’d rather) hanging from over at Good Housekeeping.
At your local craft store, buy either 3 or 4 wooden shamrock shapes (Note: If you can’t find a wooden “LUCK” cutout, just buy a 4th shamrock and follow the directions for how to make them). With a variety of different patterned green scrapbook paper, use spray adhesive to attach the front of the shamrock to the back of the scrapbook paper and allow to dry. Cut the shamrock out of the paper using a utility knife or scissors, then using a foam brush, apply Mod Podge over the front of the shamrocks to seal in the paper, then allow to dry. Using green scrapbook letters, spell out Luck (if needed), of, the, Irish. Last, attach the finished shamrocks onto the long piece of green ribbon using several glue dots to hold them on.
Except for waiting for the glue and Mod Podge to dry, this should only take a few minutes and can last for years!