
Simple Upcycled T-Shirt Produce Bag Tutorial
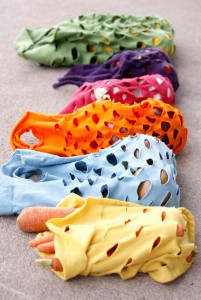
Going to the local farmer’s market is a great way to get fresh produce and support local growers, but you definitely need produce bags to keep your food safe. Instead of pay $5 or more per bag, create your own using old t-shirts and very little sewing. All you need is a t-shirt, scissors, a sewing machine, and a pen.
This amazing and simple tutorial comes from Delias Creates. She has a visual, step-by-step tutorial for extra help if you need it.
- Turn an old, clean t-shirt inside out, then draw a shape for the bad you like – square or round – and as large as you want it. You can make 2 out of one t-shirt if you make them small, or a large one out of a whole t-shirt.
- Sew the 2 sides together using either a straight stitch or narrow zig-zag going around the edges, leaving 1 side open.
- Flip it right side out, then finish the seams by straight stitching around the edges again.
- Now, draw lines sporadically across the bag in lines about 2-3″ long, spaced at least an inch between each line both sideways and on top and bottom apart.
- Draw the shape of a hole for your handle at the top of the fabric.
- Now, cut the lines and handle through the 2 layers. Be careful to not cut too far and combine 2 cuts together.
- Now, stretch the fabric out and it’s ready to use! So simple!
Homemade Air Freshener Gel

This homemade air freshener gel is so easy to make and would make a great gift!
What You’ll Need:
- 3-4 jars, capable of holding 1/2-cup of fluid each (this site used 4 baby food jars which hold 1/2 cup of mixture)
- Food Coloring
- Essential Oil or Room Fragrance drops
- 2 cups of water, divided into two 1 cup amounts
- 4 envelopes of unflavored gelatin
- 1 tablespoon of salt
- Kitchen equipment: whisk, a pan to boil water, funnel, and spoons
Directions:
- Pour a few drops of food coloring into each jar.
- Pour 1 teaspoon (minimum) of essential oil into each jar. The more you pour, the stronger the scent.
- Bring 1 cup of water to a rapid boil.
- Add all 4 of the gelatin to the water and whisk until fully dissolved (about 1 minute).
- Add the other cup of water to the pan and the salt. Stir to dissolve the salt.
- Remove the pan from the heat. Pour the mixture into the jars within a couple of minutes of removing from the heat.
- Use a funnel to pour an equal amount into each jar.
- Stir the mixture quickly before it solidifies.
- Let cool and solidify for at least 24 hours. The gel air freshener should last between 4-6 weeks and you can do it again!
Thanks to Instructables for the awesome idea and instructions!
Homemade Weed Killer Recipe
Depending on where you live, weeds are a really big nuisance and buying weed killer can start costing you a lot over the summer season, especially ones that are safe around kids and dogs. Here’s one that you can make at home that has a lot of positive reviews.
Ingredients:
- 1 Gallon of Vinegar
- 2 cups of Epson Salt
- 1/4 cup Original Blue Dawn Dish Soap
Directions:
- Mix all ingredients together in a large container by stirring so it will have less suds.
- Pour into a spray bottle or watering can.
- Pour or spray the weed killer over the weeds in the morning after the dew has dried. By evening, the weeds should be dead or wilted significantly.
Homemade Ice Cream in a Bag Recipe
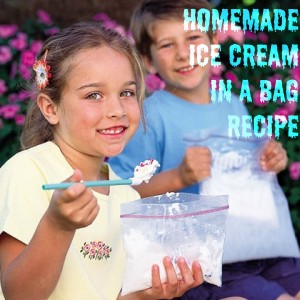
Its finally warm outside and the kids can get all their energy out by playing outside. Use this to your advantage and your whole family can make ice cream in bags by running around! Note: This recipe is enough for ONE serving, so you’ll need all of the listed ingredients for each person.
Ingredients & Other Things You’ll Need:
- Ice cubes (enough to fill each gallon-size bag about half full)
- 1 cup half and half
- 1/2 cup salt (The bigger the granules, the better. Kosher or rock salt works best, but table salt is fine.)
- 2 tablespoons sugar
- 1/2 teaspoon vanilla extract
- 1 pint-size ziplock bag (this can also be done in tupperware type containers)
- 1 gallon-size ziplock bag
- Your favorite ice cream toppings or ingredients, like chocolate chips, cereal, fruit, marshmallows, etc.
Directions:
- Combine the sugar, half and half, and vanilla extract in the pint-size bag and seal it tightly. Double check it’s sealed completely.
- Place the salt and ice in the gallon-size bag, then place the sealed smaller bag inside as well. Seal the larger bag. Now shake the bags and/or have the kids run around while shaking their bags until the mixture hardens which is about 5 minutes. Feel the small bag to check when it’s hardened enough.
- Take the smaller bag out of the larger one, add toppings, and eat the ice cream right out of the bag. Toss the bag when you’re done eating – super easy cleanup!
DIY Body Wash
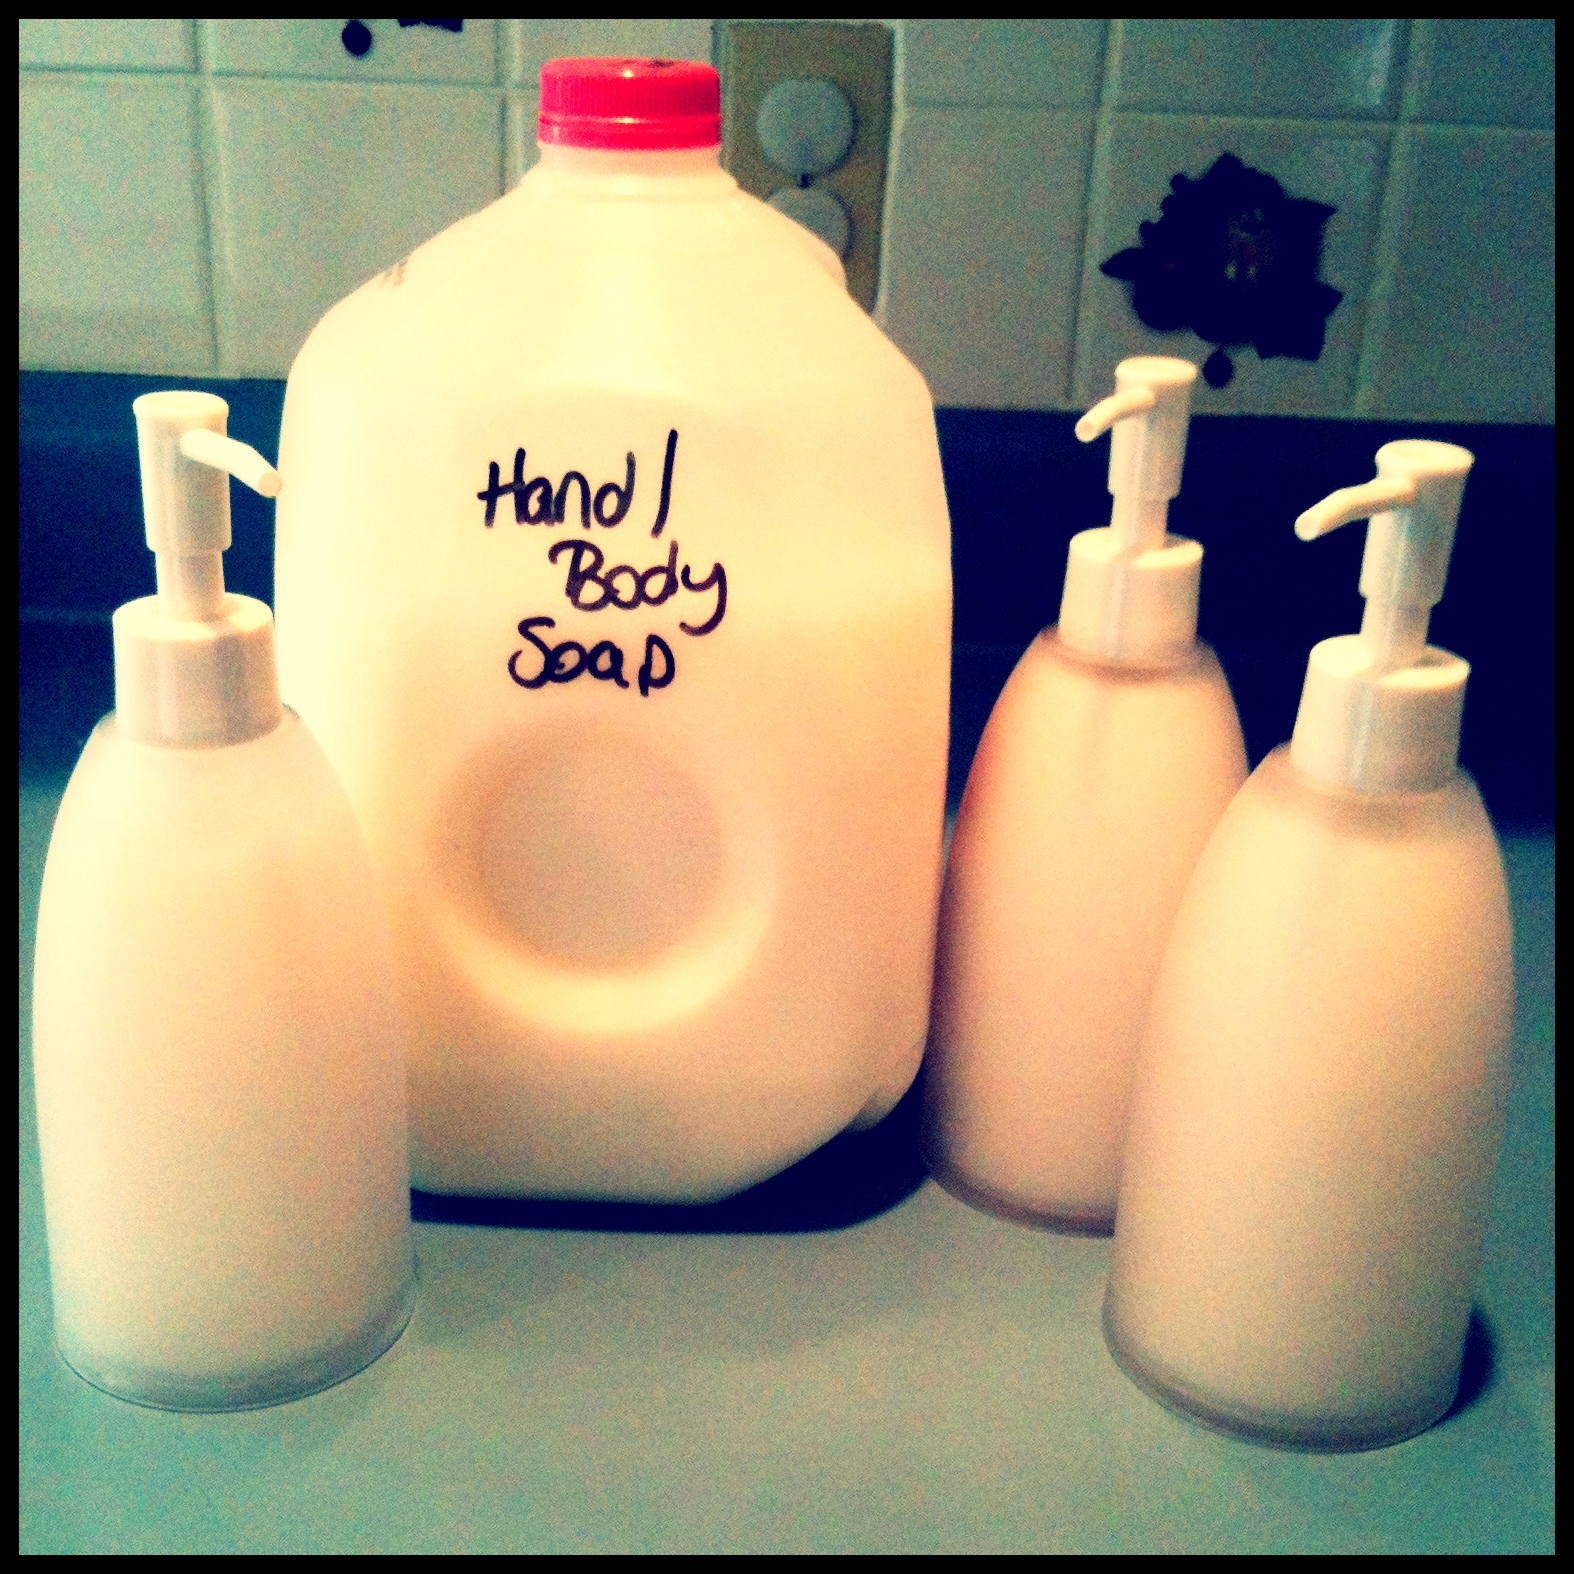
Do you have a favorite type of soap but you can only find it in the bar form? You have often wondered why they haven’t yet made it into a body wash? Well, look no further. Follow the simple steps below and you can turn your favorite bar soap into body wash. Best part is…it’s extremely cost effective and you truly get the biggest bang for your buck. On average, those who make this only spend about $1.50/ gallon. How can you beat that?
What you will need:
- 8 oz of bar soap (Any bar. Read the label to make sure your are using 8 oz. For some soaps, that’s one bar, for others it is 2 or 3)
- 2 Tablespoons of Glycerin (You can find this product by the bandaid section. It will not be by the soaps. It’s well worth the $3/bottle. A small amount goes a long way
- 1 gallon (or 16 cups) of water
- Stock Pot
- Container for soap (Milk jugs work great)
Directions:
1. Grate the bar of soap using a cheese grater. Don’t have a cheese grater, chunk the bar soap into tiny pieces.
2. Put it in the stock pot with the water and Glycerin
3. Heat over medium heat until the soap is completely dissolved. The smaller the chunks the faster it will go.
4. When the soap is completely dissolved it will look like a big pot of soapy water. Don’t worry, this is what is supposed to happen.
5. Let the mixture sit & cool for 10-12 hours. It will begin to coagulate together.
6. After the 10-12 hour period it will be a mucous like consistency.
7. Using a hand mixer, beat until you have reached your desired consistency. If it is to thick for your liking, then use water to slowly but gradually water it down.
8. Using a funnel, pour the mixture into your container and Voila! You have successfully made your own body wash.
Let us know how yours turned out. Leave a comment to let us know if you enjoyed this awesome DIY Tip.