
Homemade Weed Killer Recipe
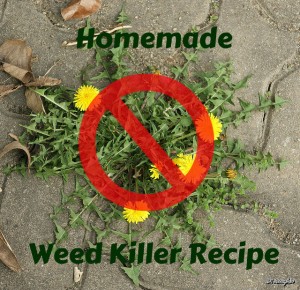
Depending on where you live, weeds are a really big nuisance and buying weed killer can start costing you a lot over the summer season, especially ones that are safe around kids and dogs. Here’s one that you can make at home that has a lot of positive reviews.
Ingredients:
- 1 Gallon of Vinegar
- 2 cups of Epson Salt
- 1/4 cup Original Blue Dawn Dish Soap
Directions:
- Mix all ingredients together in a large container by stirring so it will have less suds.
- Pour into a spray bottle or watering can.
- Pour or spray the weed killer over the weeds in the morning after the dew has dried. By evening, the weeds should be dead or wilted significantly.
Homemade Ice Cream in a Bag Recipe
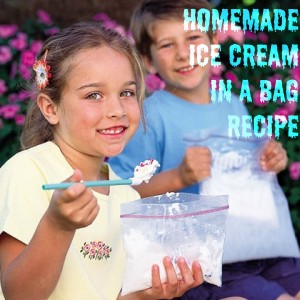
Its finally warm outside and the kids can get all their energy out by playing outside. Use this to your advantage and your whole family can make ice cream in bags by running around! Note: This recipe is enough for ONE serving, so you’ll need all of the listed ingredients for each person.
Ingredients & Other Things You’ll Need:
- Ice cubes (enough to fill each gallon-size bag about half full)
- 1 cup half and half
- 1/2 cup salt (The bigger the granules, the better. Kosher or rock salt works best, but table salt is fine.)
- 2 tablespoons sugar
- 1/2 teaspoon vanilla extract
- 1 pint-size ziplock bag (this can also be done in tupperware type containers)
- 1 gallon-size ziplock bag
- Your favorite ice cream toppings or ingredients, like chocolate chips, cereal, fruit, marshmallows, etc.
Directions:
- Combine the sugar, half and half, and vanilla extract in the pint-size bag and seal it tightly. Double check it’s sealed completely.
- Place the salt and ice in the gallon-size bag, then place the sealed smaller bag inside as well. Seal the larger bag. Now shake the bags and/or have the kids run around while shaking their bags until the mixture hardens which is about 5 minutes. Feel the small bag to check when it’s hardened enough.
- Take the smaller bag out of the larger one, add toppings, and eat the ice cream right out of the bag. Toss the bag when you’re done eating – super easy cleanup!
Recipe: Frozen 100% Fruit Pops
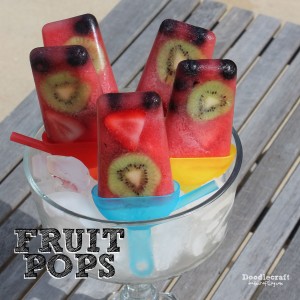
Kids love eat popsicles during these hot summer days. So many of the frozen treats are filled with sugar and have nothing healthy in them. This recipe for Fruit Pops from Doodlecraft uses 100% fruit – even down to pureeing fruit with a food processor, not using juice, so it’s even more healthy. The kids will think it’s a treat, but you’ll know it’s super healthy.
What You’ll Need:
- Plastic popsicle molds
- About 3 cups of sliced watermelon (be sure there are no seeds)
- Sliced strawberries
- Sliced kiwi
- Large handful of blueberries
Note: Any kind of melon will work instead of watermelon, and juice will work if you want to make this process easier.
Directions:
- Puree the watermelon fully to make it as watery as possible.
- Put 2-4 blueberries at the bottom of the plastic mold, a slice or two of kiwi (so they show on the side of the mold), 2-4 slices of strawberry, then a couple more blueberries as the last of the fruit.
- Fill the molds to the edge with the watermelon juice.
- Press the popsicle mold lids on securely, then freeze overnight.
- When fully frozen, the popsicle should slide right out of the mold, but if it sticks, run the plastic under a little warm water.
DIY Head Scarf
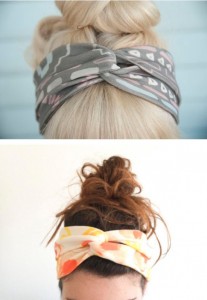
Head scarfs are super stylish right now, but to buy them already made into a headband or head scarf is pretty expensive (I’ve seen them for $20 or more just for ONE), and it limits the designs to what the creators choose. Make them yourself in literally seconds and you can make them out of your grandmother’s hand-me-downs, the cute one you saw at the thrift store, or the expensive ones. Up to you which scarf you wear, but here’s how to wear it as told by Lucky Pony.
Wrap the scarf around your head with the middle of the scarf at the nape of your neck. Twist the two ends around each other once 3. Wrap the scarf back down to the bottom of your head and knot with a bow. You can choose if you want to reverse it and have the bow at the top of your head instead – versatile head scarf instructions! Enjoy!
DIY Bouncing Bubbles
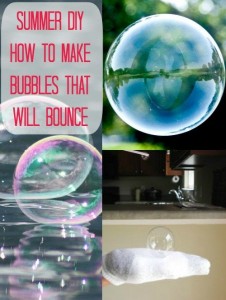
Kids love bubbles, and they are a huge part of summer play. Try something new with the kids and make them amazing bouncing bubbles! Skip the “Deluxe Bouncing Bubbles Kit” that costs $35 or more. You can make it at home with just a few ingredients with the tutorial from Play at Home Mom.
- 1 C distilled drinking water
- 1 Tablespoon dish soap
- 1 Teaspoon of glycerin (you can buy at craft stores or in the first aid aisle)
- something to blow bubbles with (straw, yarn, bubble blower wands, etc.)
- 1 clean glove (or sock to keep the bubbles from popping)
Mix ingredients together and let stand for at least 24 hours. Have fun!