How To Make A Pillowcase Dress
With all the rage of Pillowcase Dresses, I wanted to show you how simple and easy it is to make one yourself. If you watch Shark Tank, just a few weeks ago there was a woman who got a deal for $50k to grow her company Cozy Bug, which also sells Pillowcase Dresses. That’s awesome, but her dresses can cost up to $50! Here at Fun 2B Frugal, we are always looking for ways to SAVE money and live frugally. One of those ways it to make your own dresses! Calm down, it’s not as hard as you think! You don’t need to be some great seamstress to sew a Pillowcase Dress. In fact, you only need to know how to sew in a straight line! After this tutorial, we can add a few challenges to our pattern, but for now, we will keep it simple. Only straight lines! Are you now interested in learning how to make a pillowcase dress? Okay then, let’s get started!
How To Make A Pillowcase Dress
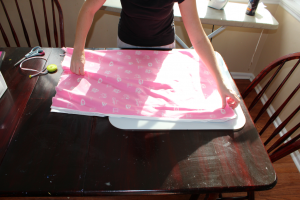
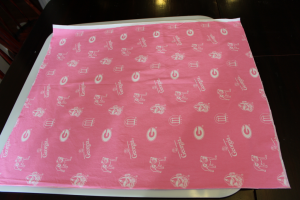
The first thing you need to do is pick out your fabric, wash it and then iron it. Lay it out in front of you with the width folded.
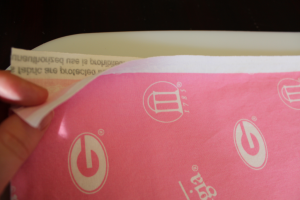
Make sure your selvages match up.
Then you can cut the length. You will determine the length by measuring the girl from right below the collar bone to the spot you want the dress to end. So above the knee, on the knee, or below the knee. You decide the length. Once you determine how long you want the dress to be, you will add 4 inches for seam allowance.
Once you cut the length, you can cut right down the crease where the fabric is folded.
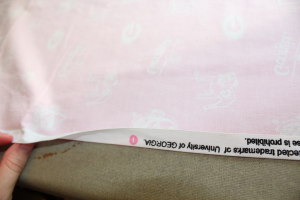
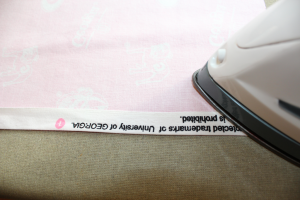
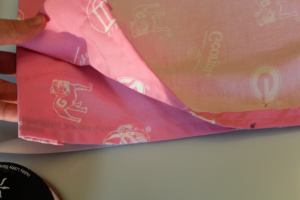
Now that you have two pieces to work with, you will take the length sides and fold it. Fold the length in about 1/3′, iron it and then fold it again and iron it. This way you have a nice finished edge.
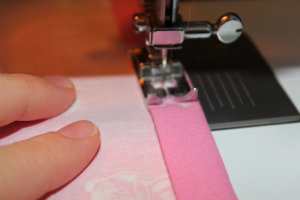
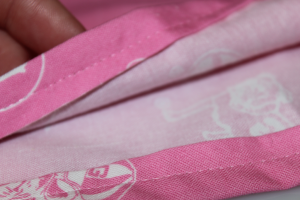
Once you fold it twice and iron it, repeat to the other three length sides. Then you will sew all four sides at a 1/4″ seam allowance.
Now that all four sides are sewn, do the same process for the bottom of the dress to both pieces Make sure to use the same measurements for both pieces, so when you sew the sides together, they are the same length. (To ensure they are the same length, you can do this step after you hem the two pieces together. My kids were jumping all around as I did this demonstration so I hemmed the bottom while they were separate.)
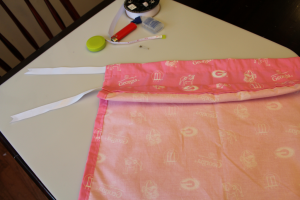
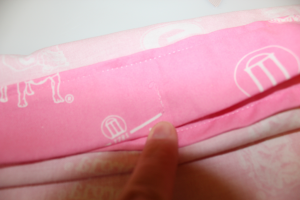
Now you need to sew a casing for the ribbon to fit through at the top of the dress. To know how big of a casing you will need, just add about 1/4″ to how wide the ribbon is that you are using. So, since I am using a 7/8″ ribbon, I will sew a 1 1/8″ casing. Like before, fold down the fabric and iron it so it’s straight and easy to follow.
Finally! Time to sew both pieces together! Make sure both pieces are facing each other. Then, you need to determine how big to keep the opening for the arms. I measured out 7″, but if you want to be perfect on your daughters size, just measure a t-shirt in her size. NOT a fitted t, but a true t-shirt. I pinned it at the 7″ mark, and sewed from there all the way down.
Now, slide your ribbon though the casing using a safety pin. The bigger the pin, the easier and faster it is to get the ribbon through the dress.
Once the ribbon is pulled though, sew a stitch right in the middle of the casing to ensure the ribbons do not come out. I learned this trick the hard way!
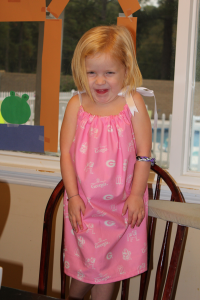
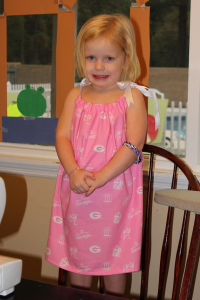
Now you’re done! You can turn it inside out and call your little model to try it on! Launa was doing the goofy grin here :)
Follow Me Friday: How To Make A Pillowcase Dress
This video is everything I posted above, just as a video! One thing I love about these dresses, is that you can wear them all year long. Plain during the summer and with leggings and a turtleneck for winter! Not to mention, you can make one for each FUN fabric that goes on clearance at the fabric store! I know in the video I said I was going to make a matching bow. I had every intention of doing so! The kids didn’t cooperate with film making, so I will have to do a part 2 with the bow.
Also, if you think this is the only way to make a pillowcase dress, you are wrong! And that’s a good thing. There are several more ways such as adding ruffles, adding 2 or 3 more coordinating fabrics, adding sleeves, doing a different arm hole opening and more. Stay tuned and I will gradually show you many more!


Leave a Comment
Love it:)
Very cute! Love the pink Georgia Bulldogs fabric!
just googled how to make a pillowcase dress and found your blog. Thanks for posting this how-to. I’m totally gonna make some of these for my 4 girls this summer!!!
Ok I’m totally new to sewing. So this might be a dumb question I really don’t know but how much material do I buy?