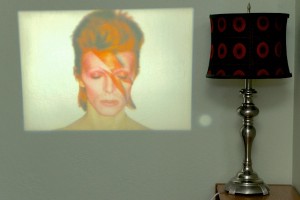
DIY $3 Wall Projector

Watching a huge movie on the side of a garage or inside on a large wall is so much fun. It’s just like going to a drive-in, but not everyone has hundreds of dollars to buy one. Here’s a genius hack that only costs $3 and uses your smartphone. If you want visuals on this tutorial click that link above.
What You’ll Need:
- Shoebox or small box
- Small magnifying glass
- Paperclip
- Smartphone Stanley knife
- Duct tape
- Optional: Black paint
Directions:
- Figure out the center of your box. Place your magnifying glass in the middle of the “height side” of the box (where the heel or toes would be) and trace around the lens.
- Use the knife to cut out the circle.
- Stick the magnifying glass into the hole from the inside and duct tape it in securely. Tape all the way around the edges of the circle, too. This will prevent light from getting in.
- To prevent even more light from getting inside the box, paint the inside black until completely opaque and allow to dry.
- Poke a hole at the back of the box and stick your phone charger through it.
- Using a pair of pliers, bend the paperclip into a stand for your phone, or use one you already have.
- The picture of your phone will appear upside down on the wall since it’s reflected through the magnifying glass. To fix it: For an iPhone go to Settings > General > Accessibility and turn on Assistive Touch. Then touch the floating orb thing that’s on your screen and select Device > Rotate Screen. For Android, Screen Rotation Control app or the Ultimate Rotation Control app will flip it correctly.
- Dim the lights,place your phone on its stand in the box, then move the phone back and forth in the box to find your focus point.
- Close the box, turn out the lights, and watch the movie on the large, flat area of your choice! SIMPLE!


Leave a Comment