
DIY Bunny Ears Headband
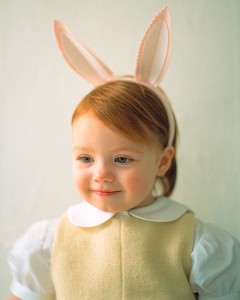
I love dressing my little ones up for Easter with cute little outfits and bunny ears. I always get them the cheap ones from Target, but I think this year I’m going to do this easy craft from Martha Stewart Baby. You can make them for kids or adults as long as you have the right size headbands!
What You’ll Need:
- Child-size headband (or adult for larger head)
- 8-by-16-inch piece of pink felt
- 6-by-6-inch piece of white felt scissors
- Pinking or scalloped shears (optional)
- Hot-glue gun
- Hot-glue sticks
- Bunny ears template
Directions:
- Measure the width and length of the top of the headband, add 1/2 inch to all sides, and cut a strip of pink felt to cover.
- Glue the felt strip onto the top of the headband, wrapping the extra material around the headband’s edges.
- Measure the underside of the headband, and cut a strip of pink felt to fit.
- Glue the strip to the underside, creating a backing that covers the edges of the top felt.
- Print out our bunny-ears template, and cut out both shapes.
- Trace the outer-ear shape onto pink felt twice, and cut along scalloped edge (or cut out with pinking or scalloped shears).
- Trace the inner-ear shape onto white felt twice, and cut out with regular scissors.
- Glue each pair of ears together with hot glue, and let dry.
- Crease each ear vertically down the middle, and press.
- Fold up the bottom flaps on either side of the notch, and attach to headband with hot glue, pulling notches closed so ears are slightly bent. Hold until glue sets.
Leave a Comment